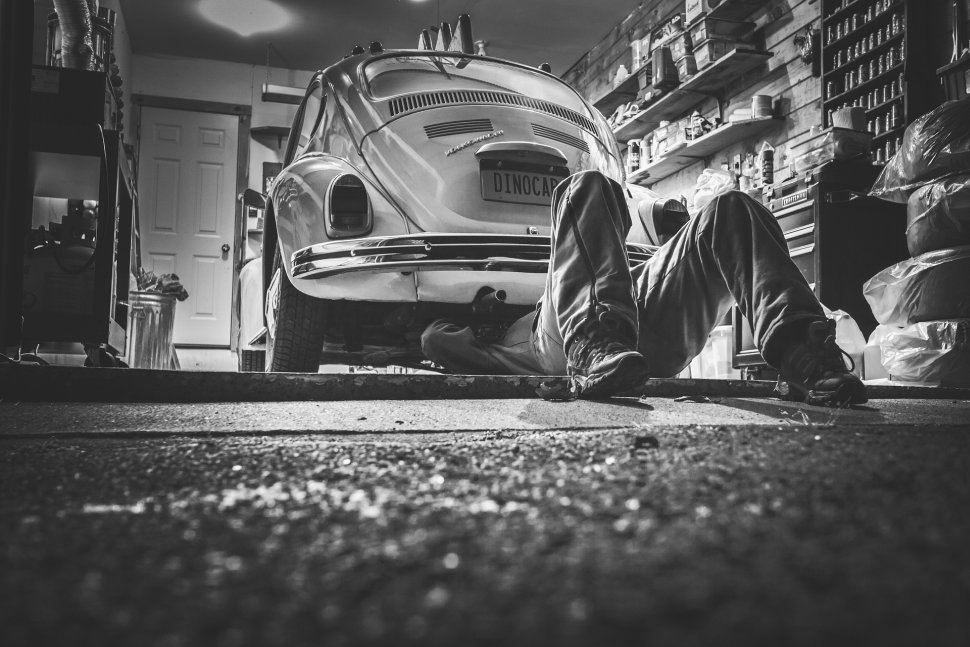
Cabin air filters are one of those things that every car owner should check and change every so often. But if you are one of those people who only knows to refuel and drive, then you probably need a bit deeper explanation starting with a pinch of history.
The filters originate from the 1980s. They were initial part of some European luxury car brands' vehicle lines. Nowadays almost every car has one, some even more than one - up to three, located in different places of the vehicle. Serving as a griddle that catches different air particles between its layers, the filter keeps the inside air fresh and breathable.
What kind of cabin air filters exist?
There are different types, depending on the preferences of the car manufacturer. Regular and activated charcoal are the two main types. The first one is often being divided into paper, electrostatic and pollen one, but they all do one and the same thing. The second one, charcoal, is a bit more expensive compared to the rest. Why? According to some experts, charcoal filters are excellent when the car got driven in highly polluted areas.
Why should the cabin air filters be changed?
Despite what type of air filters one has inside the car, they all must undergo a replacement after a certain period and mileage.
If you take a look inside your owners' manual you'll be able to find your cars' manufacturer recommendations. It all depends on the car and the environment it's been driven, but roughly - you must get prepared to inspect and even replace your cabin air filter with a new one after 12,000 to 15,000 miles.
However, if you drive in a heavily polluted area with tons of particles scattered in the air, the 12-15,000 mile rule is not valid. If this is the case, you have to get readyd for an "intervention" a bit sooner.
What are the signs that you need to take a closer look at the air filter?
One of the signs that your air filter needs a change is a presence of an odor inside the cabin. Usually, filters "absorb" and "clean" it. So when the air in the cabin thickens and becomes infused with funny, even pungent vibes it is a signal that maybe your air filter got clogged with dirt and it's about time to let go of it.
Apart from the fact that is quite unpleasant to spend your time in a smelly vehicle, it is unhealthy and even dangerous - especially if there is a passenger suffering from allergy.
Another sign, pointing out to un uprising cabin air filter problem is the significant increase in the noise entering the cabin.
How to change the old air filter with new one?
Changing the filter is not such a big deal. But it requires few things:
1. Know your vehicle. It's of a great importance for every owner. Why? Because on each vehicle the air filter is in a different compartment. For example - some cars have their air filter located under the hood, while others - in the glove box. So before you start looking for the air filter just open the owners' manual - there the manufacturer should have explained the exact location of yours and the way it could be replaced.
2. Vacuum cleaner. This is if you want to give it a second chance. You can suck all the particles that got caught up in between the filter layers. Unless your cabin air filter is irretrievably dirty.
3. Screwdriver - in case it's difficult to remove the casing.
4. New air filter - if your old one needs to get replaced.
5. Patience - probably the most essential of all things.
The process of changing air filter starts with its location. Once you find it - the rest is quite easy. Whether under the bonnet or behind the glove box, you would have to remove its housing.
Let's first look at the process when the air filter is under the bonnet.
You'll probably notice how tight it fits. In order to replace it you would probably gonna need to unfasten it.
NB! - preserving the clips/bolts in one place so that they won't get lost would be wise.
Once you open the plastic case you may find few hose clamps and electrical connectors. Gently unsfasten them to get a clear path to the filter itself. Now, as many of you know, air filters are not necessarily the same in shape and sizes. So it would be great to peak inside your manual or search in the net if you do not want any unpleasant surprises.
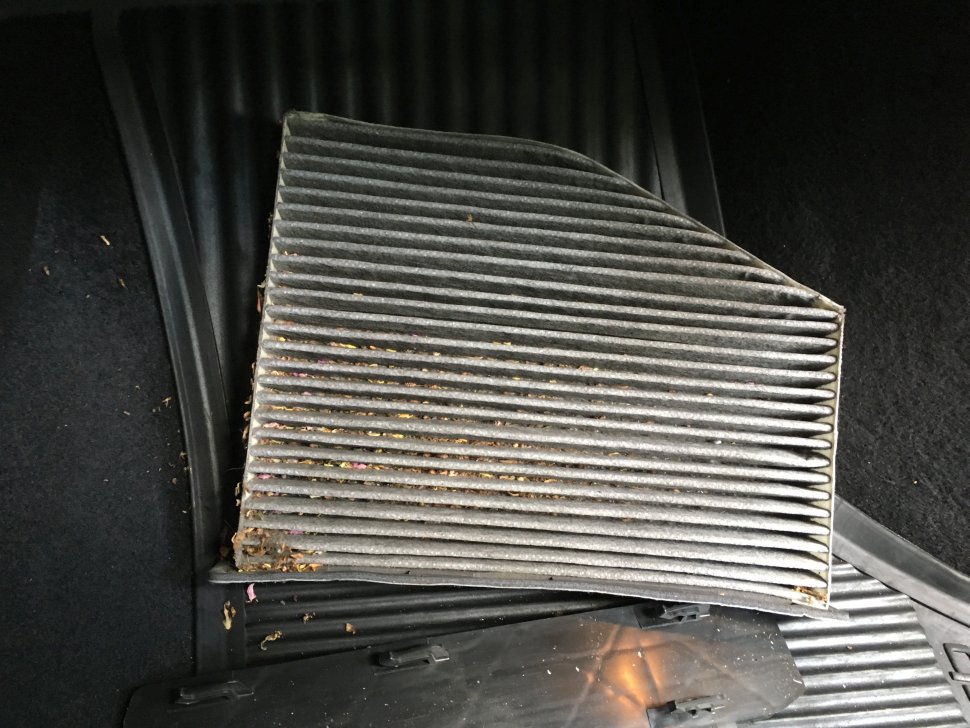
When you "free" the air filter from its box you may take a closer look and inspect it. Normally, after certain period(during which the filter would have adsorbed small dirt particles, tiny insects and other nasty things) it may have changed its color - from light to dark grey, and even black. You may try to shake off all the dirt or to use a vacuum cleaner. Either way you must be very careful not to harm its fiber structures.
Unfortunately, sometimes because of the environmental exposure the filter could end up being dirtier than expected. In this case we must replace the old one with clean new one. After taking out the old one, carefully put the new one in its place - making sure its fits back perfectly. Wire back all the electrical connectors and put the hoses back in their place. Put the casing back on top of it. Press it back down carefully, not to break it and you're done.
There is another option - when the filter is behind the glove box.
In this case, to gain access to it, you'll have to remove the glove box compartment. Again, you'll need a screwdriver to unfasten the bolts that keep it together. Due to the differences between manufacturer's' constructions, there could be variations in the glove boxes from vehicle to vehicle. It would be better and far easier if before preceeding to disassemble the glove box you would first read your owners' manual. It should give you an idea of where your air filter is and how to reach and replace it without damaging the glove box. After that you can go ahead by gently removing the bolts. Take out the plastic box-shaped compartment and you will be able to spot what's behind it - usually, hidden behind thin cover. Remove it and ance again, gently unfasten the bolts that hold the filter. Now you can take out the old filter. Make sure you don't shake it (or all dirty particles will scatter inside your cabin). Once again, you can either clean the old filter (if it's not too dirty) or to change it with a new one. Despite the option you choose, the process is the same - place the filter back on its place, fasten the bolts, put the lid on. Install the glove box in its place, tighten the bolts and voilà!
Author: Diyana Ilieva


 Български